


A Guide to Installing Your Towel Rail/Radiator
January 9, 2024 Paul
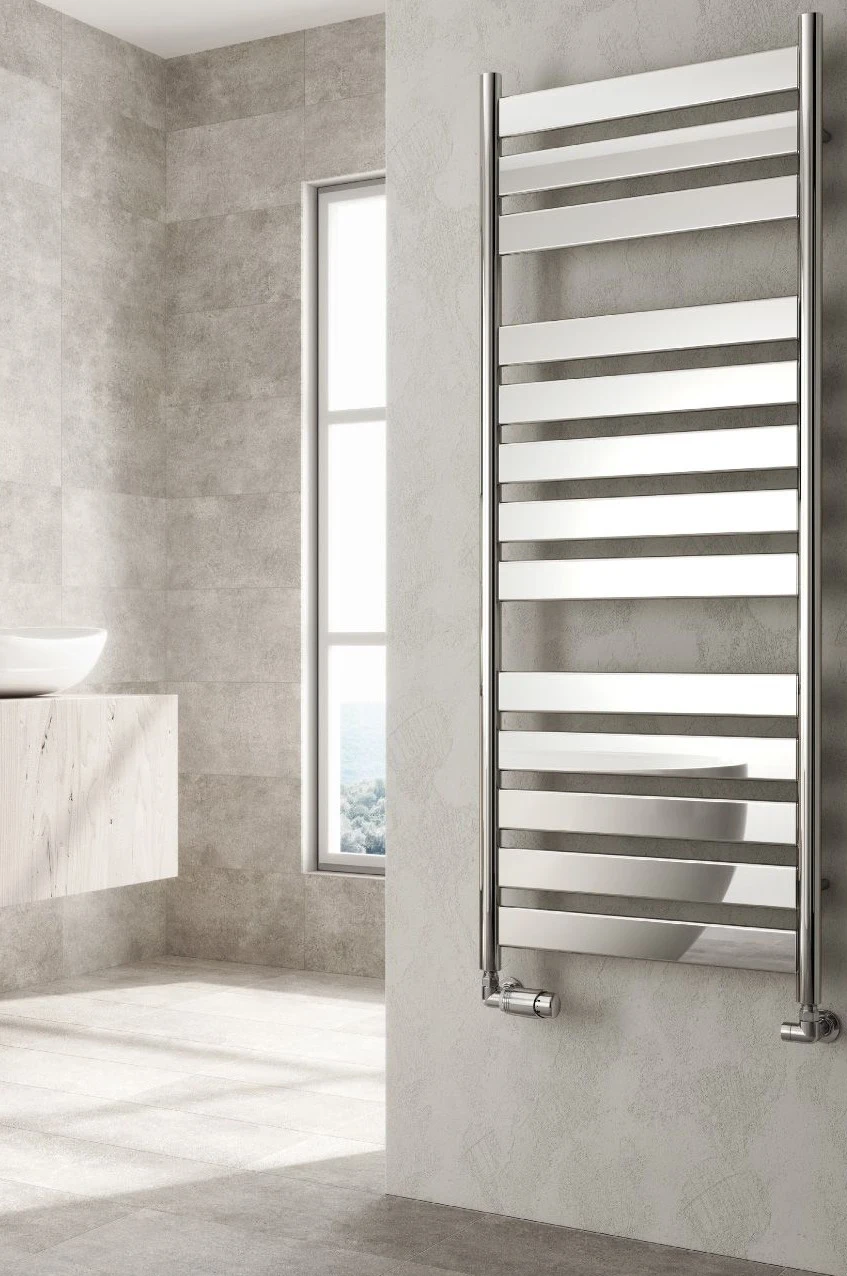
We understand that installing your towel rail or towel radiator can be daunting for some, which is why we provide you with mounting hardware and an instruction manual to guide you through the process step-by-step. Additionally, to ensure accuracy, most of our models include an installation template which shows you exactly where to mark out the wall fixings.
Our goal is to make the installation of your product as hassle-free as possible so you can enjoy the comfort and convenience it provides. If you have any questions or concerns during the installation process, our friendly customer service team is always here to help.
Installing an Electric Towel Rail
- Step 1: Choose the location - The first step is to decide where you want to install it. The best place for it is often in the bathroom, where it can be used to dry and warm towels. You will need to make sure there is an electrical socket nearby.
- Step 2: Turn off the power - Before you start the installation, turn off the power supply at the main switchboard.
- Step 3: Mount the brackets - Fix the brackets onto the wall, making sure they are level and secure. Use a spirit level to ensure that the brackets are straight.
- Step 4: Install the radiator - Attach it to the brackets. Make sure the screws are tightened and the radiator is secure.
- Step 5: Connect the electrical supply - Connect the electrical supply to your product, following the manufacturer's instructions. Make sure the wiring is done properly, and the connections are tight. We would recommend the use of a professional for this stage.
- Step 6: Turn on the power - Turn on the power supply at the main switchboard.
- Step 7: Test the radiator - Turn it on and check that it is heating up properly. If it is, then congratulations, you have successfully installed your product.
Installing a Central Heating Towel Rail
- Step 1: Choose the location - The first step is to decide where you want to install it. You will need to make sure there is a hot water supply nearby.
- Step 2: Turn off the heating - Before you start installing it, turn off the heating system at the main switchboard. We would recommend you seek the advice of a professional at this stage.
- Step 3: Mount the brackets - Fix the brackets onto the wall, making sure they are level and secure. Use a spirit level to ensure that the brackets are straight.
- Step 4: Install the radiator - Attach it to the brackets. Make sure the screws are tightened and the radiator is secure.
- Step 5: Connect the pipes - Connect the pipes, following the manufacturer's instructions. Make sure the connections are tight. We would recommend the use of a professional for this stage.
- Step 6: Turn on the heating - Turn on the heating system at the main switchboard.
- Step 7: Test the radiator - Turn it on and check that it is heating up properly. If it is, then well done, you have successfully completing your installation.
Installing one of these is a great way to add comfort and convenience to your bathroom. Whether you choose an electric or central heating version, the process is relatively straight-forward if you follow the steps outlined above. However, if you are unsure about anything or feel uncomfortable doing the installation yourself, it is always best to consult with a professional.


